3 Quick Ways to Transfer Spotify Playlists to YouTube
Music shouldn't be confined to streaming services. Ever wished you could transfer Spotify playlists to YouTube Music and keep listening without starting over? This Spotify to YouTube playlist transfer process is simpler than you think. With the right tools, you can transfer all your favorite songs in just a few simple steps. Keep all your favorite songs together and enjoy seamless listening, no matter where you play your music. Here’s how you can do it.

Part 1: Why You Need a Spotify to YouTube Playlist Transfer Tool
Since Spotify and YouTube Music do not interoperate with each other, your carefully curated playlists on Spotify instantly become inaccessible when you want to play on YouTube Music. Rebuilding playlists on a new streaming platform, especially for playlists with hundreds or even thousands of songs, feels like a tedious, time-consuming, and error-prone chore. This inconvenience is a common frustration for many music lovers. That’s exactly why dedicated playlist transfer tools have become an essential bridge. They are not just a simple alternative; instead, they offer a more efficient and hassle-free solution.
Part 2: How to Transfer Spotify Playlists to YouTube Music
There are several Spotify to YouTube playlist transfer tools available. Online tools are convenient but often have limits, while professional software offers more comprehensive features. Below, we will detail some mainstream methods.
Method 1: PlaylistGo
PlaylistGo is a comprehensive one-click playlist transfer tool designed to address the core pain points of switching music services. When you need to change services for any reason, you don't have to give up your playlists. PlaylistGo saves you the hours required to manually rebuild playlists and eliminates the risk of losing your songs.
The core function of PlaylistGo enables playlist transfer between major platforms like Spotify, Apple Music, YouTube Music, Tidal, Amazon Music, and Deezer. PlaylistGo also features robust local file handling. It supports the seamless import of offline playlist files in up to 10 formats, including M3U, M3U8, and PLS, into your preferred streaming service. Furthermore, you can quickly export and locally back up your current streaming playlists, effectively preventing the loss of your music data due to account issues or service changes.
PlaylistGo
PlaylistGo is a professional playlist transfer tool that transfers playlists between multiple mainstream music platforms.
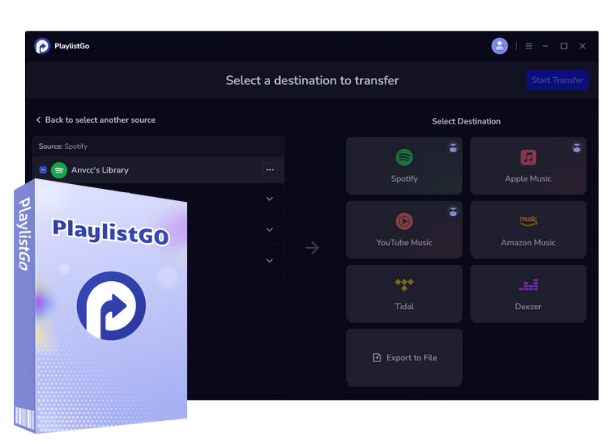
Step 1 After installing PlaylistGo on your computer, click Spotify in the "Source" section on the left. You’ll be prompted to log in to your Spotify account so PlaylistGo can access your playlists. Once logged in, wait a few moments for your playlists to load. You can select one or multiple playlists to transfer at once, depending on your needs.
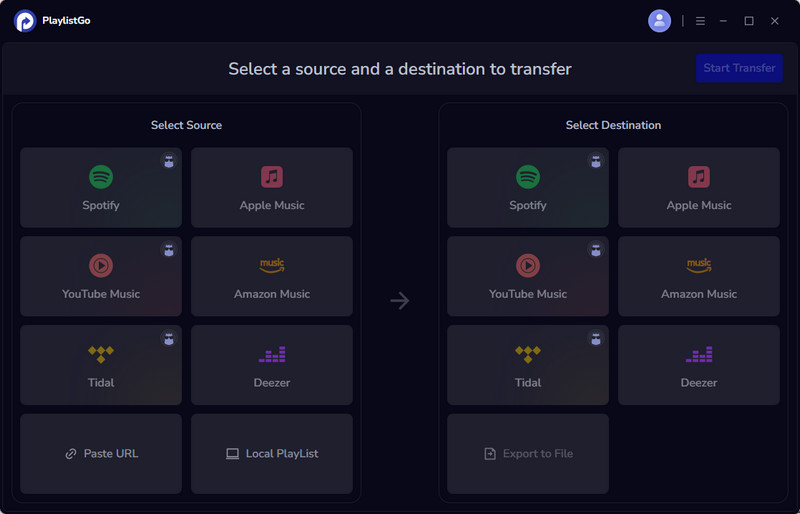
Step 2 In the "Destination" section on the right, select YouTube Music. Please make sure you already have an active YouTube channel, as it is required to transfer playlists. Once ready, click "Start Transfer". After clicking, PlaylistGo will automatically match the songs.

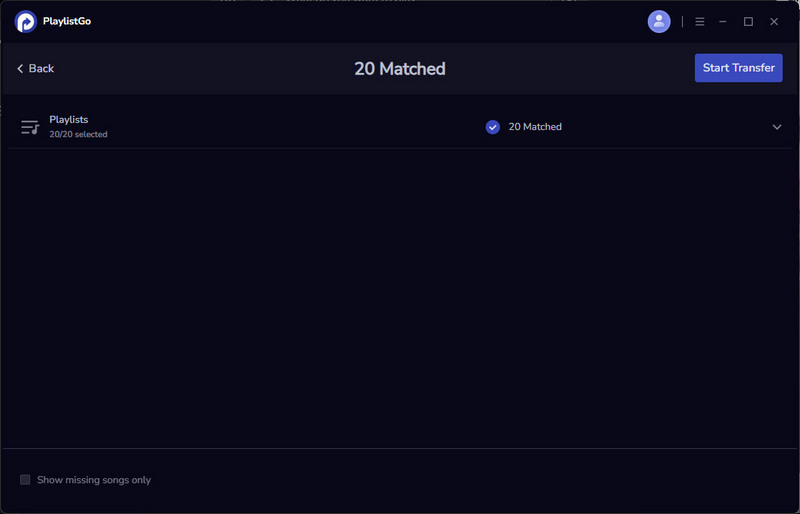
Step 3 Once the matching process is complete, PlaylistGo will display which songs were successfully matched and which could not be found. Take a moment to review the list. For unmatched tracks, you can choose to skip them or manually search for alternatives if needed. After confirming the matches, click "Start Transfer" again to officially begin the playlist transfer process.

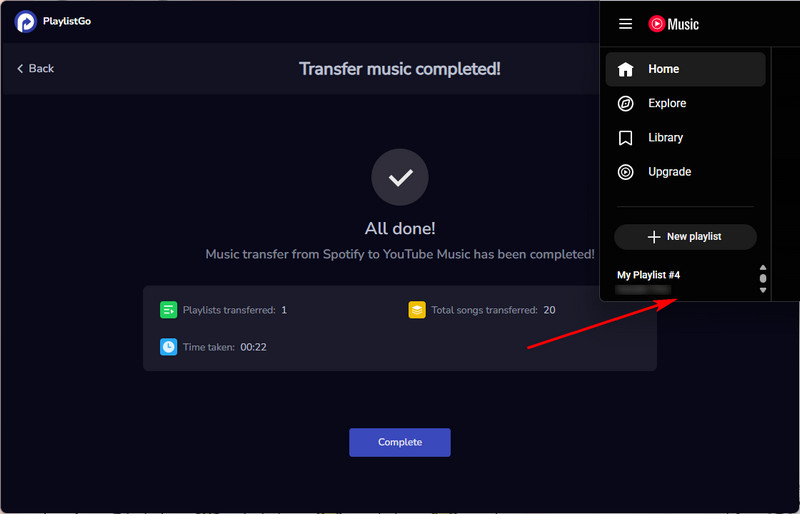
Step 4 After the transfer is finished, open YouTube Music and navigate to your playlists. You should see your newly transferred Spotify playlists on the left sidebar, with most tracks matched accurately and in the correct order. You can now enjoy your Spotify playlists on YouTube Music without manually recreating them.
Pros
-
 Supports major music platforms including Spotify, Apple Music, YouTube Music, Tidal, Amazon Music, and Deezer.
-
Transfers playlists, albums and liked songs, so your entire music library can be moved in a single operation.
-
Multiple playlists can be selected and transferred at once, saving time.
-
Allows local backup of online playlists.
-
Clear and intuitive interface makes it easy for anyone to get started quickly.
-
Allows you to fully test the entire Spotify to YouTube Playlist transfer process, verify its high matching accuracy, and experience the user-friendly interface before making any purchase decision.
Cons
-
 PlaylistGo currently requires installation on a computer and does not offer a full web-based version.
Method 2: Soundiiz
Soundiiz is a powerful online playlist management platform that supports playlist transfer, synchronization, and editing across more than 40 music streaming platforms. Its core advantage lies in its web-based operation, requiring no software downloads. It also offers advanced management features such as automatic synchronization and playlist merging, making it ideal for users who need to manage playlists across platforms long-term. However, all features require a subscription, and the free version has some limitations. During our trial, we found that even playlist transfer required a membership, making a free trial impossible beforehand.
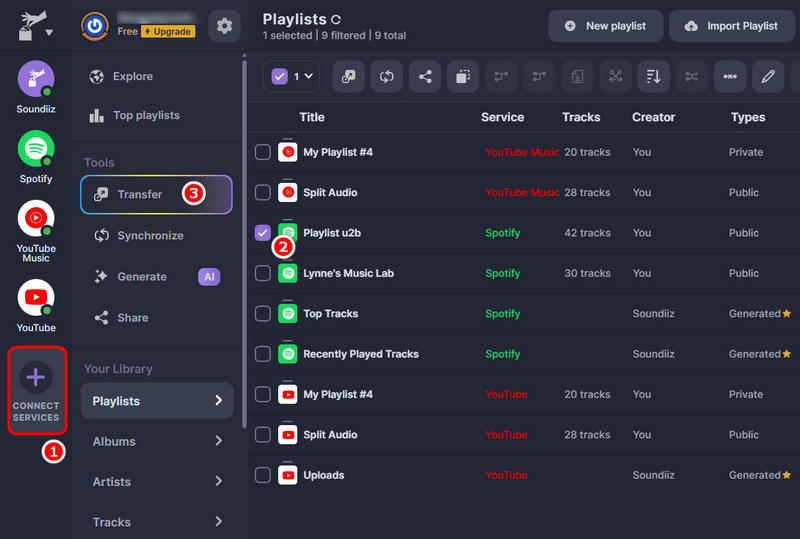
Step 1 First, open the Soundiiz website. Click on "CONNECT SERVICES" on the far left to authorize your streaming service accounts. Once the authorization is successful, a green dot will appear next to the service’s icon. Please follow this process to authorize both your Spotify and YouTube Music accounts.
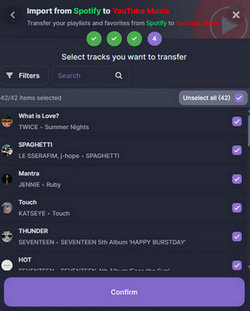
Step 2 Next, select the playlists you want to transfer, then click "Transfer".
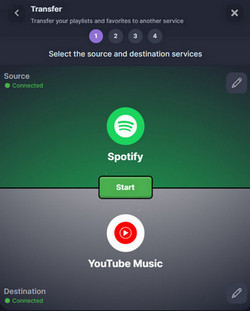
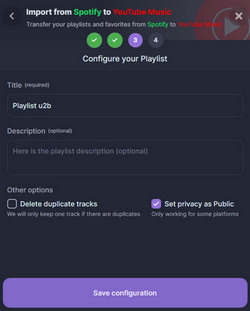
Step 3 Set Spotify as the source and YouTube Music as the destination. Click "Start", then go to "Playlists" and toggle the button on. You can then edit some basic playlist information, such as the title and description. After saving your settings, you will see how many songs were successfully matched. Click "Confirm".
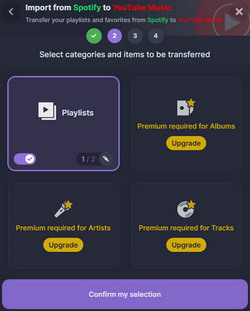
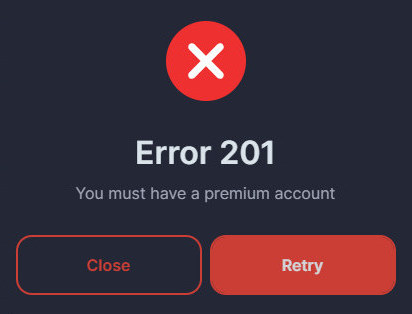
Step 4 At this point, you will see a clear message indicating that this feature is only available with a premium account. You can then assess whether it is worthwhile to upgrade to the Premium account.
Pros
-
No software installation required; works directly in any browser.
-
Compatible with over 40 music streaming platforms.
-
Allows users to edit playlist titles and descriptions before transfer.
Cons
-
Most features, including playlist transfer, are only available to paid users. The free version has significant limitations.
-
Even playlist transfer requires a premium account, making it impossible to test before subscribing.
-
Users invest time in setting up only to find the key feature requires payment at the final step.
-
Unlike some desktop tools, Soundiiz mainly focuses on online streaming platforms and does not handle local playlist files as seamlessly.
Method 3: TuneMyMusic
TuneMyMusic is a popular online playlist transfer tool that allows users to transfer playlists between over 20 music streaming services without installing any software. It supports transfers between platforms such as Spotify, YouTube Music, Apple Music, Amazon Music, and Deezer. With its clean interface and quick setup process, TuneMyMusic is ideal for users who want to transfer playlists quickly and easily. However, the free version has a track limit, and some premium features are only available to paid users.
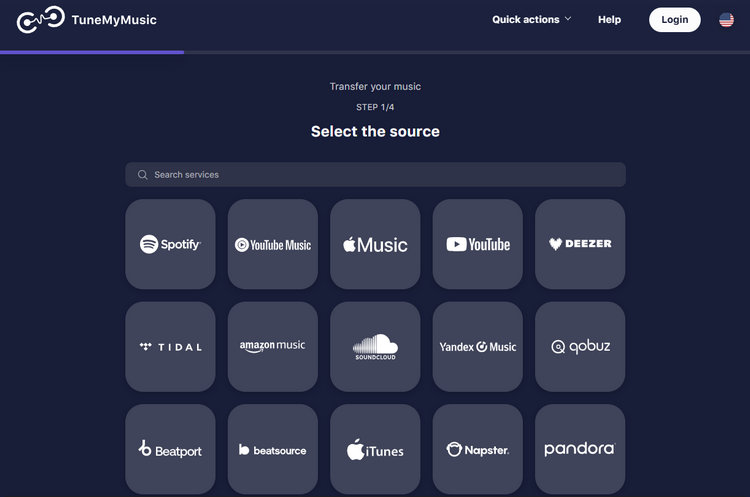
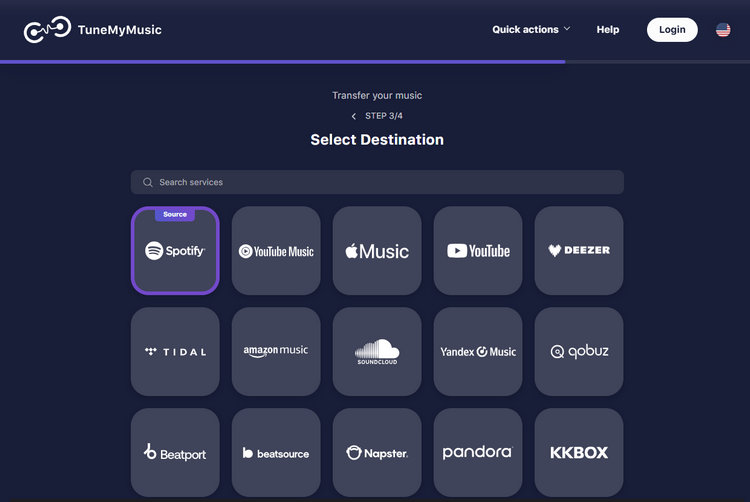
Step 1 Open TuneMyMusic in your web browser and choose Spotify as the source service. Next, log in to your Spotify account and grant TuneMyMusic the necessary permissions to access your playlists. This step allows the tool to read all your playlists securely so they can be transferred accurately.
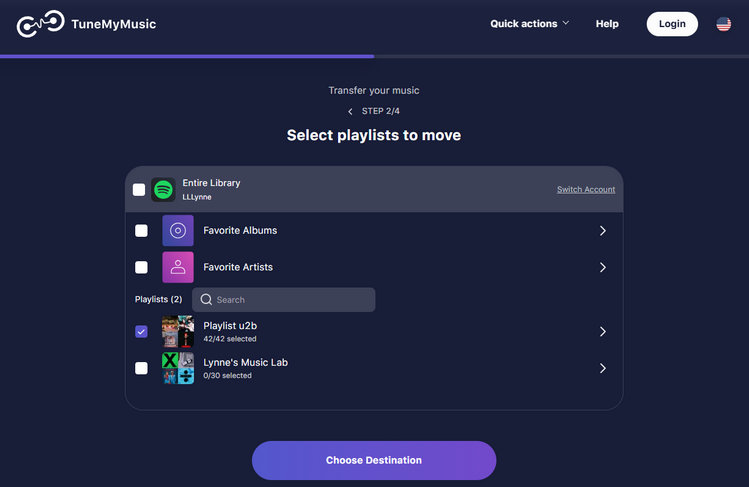
Step 2 After authorization, select the playlists you want to transfer. TuneMyMusic allows you to transfer one or multiple playlists, depending on the limitations of your plan.
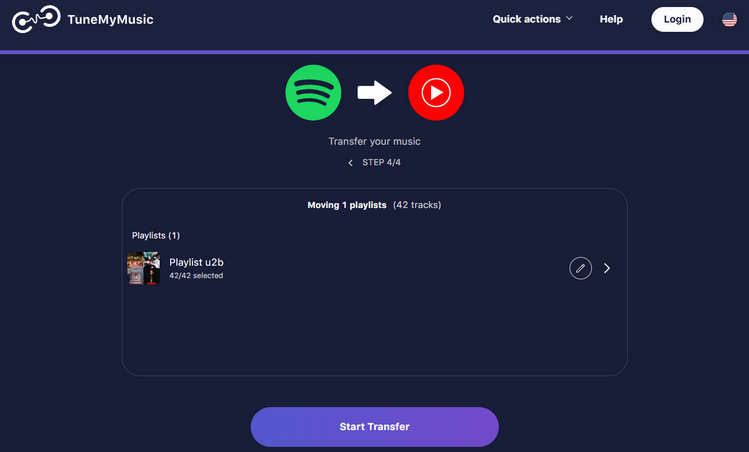
Step 3 Choose YouTube Music as the destination service and log in to your Google account. TuneMyMusic will automatically begin matching tracks from Spotify to their closest equivalents on YouTube Music. Once the matching process is complete, you will see a summary showing how many tracks were successfully transferred. Then, click "Start Transfer".
Pros
-
No software installation required; works entirely online.
-
Supports multiple major music streaming platforms.
-
Simple and beginner-friendly interface.
Cons
-
The free version has a track limit, which may not be sufficient for large playlists.
-
Advanced features and unlimited transfers require a paid subscription.
-
Limited customization options during the transfer process.
Bonus Tips: How to Download and Keep Your Playlists Forever
While these playlist transfer tools let you switch freely between music services, they have some limitations. Songs may become unavailable due to copyright changes, and you cannot download the playlists as real audio files for permanent access. These issues can be frustrating. So, how can you permanently save playlists from different services? This is exactly where TunePat Music One comes in.
TunePat Music One supports music downloads from multiple platforms, including Spotify, YouTube Music, Apple Music, Amazon Music, Tidal, and YouTube. It allows users to download songs in MP3, AAC, WAV, FLAC, AIFF, or ALAC formats, with audio quality up to 320 kbps. Once downloaded, these playlists can be permanently saved on your computer and transferred to any device or software, making your music library independent of any music service.
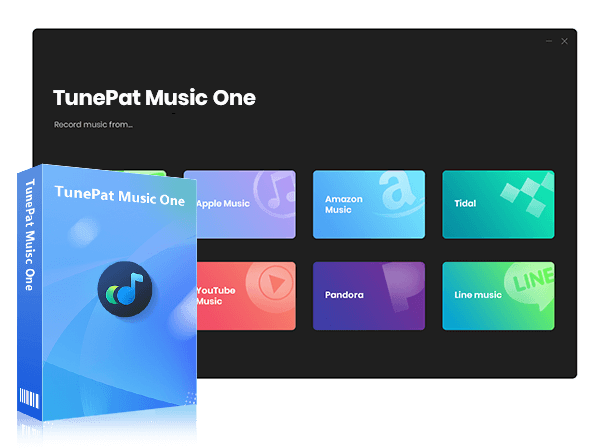
TunePat Music One
TunePat Music One is an all-in-one converter that can support any music streaming platform.
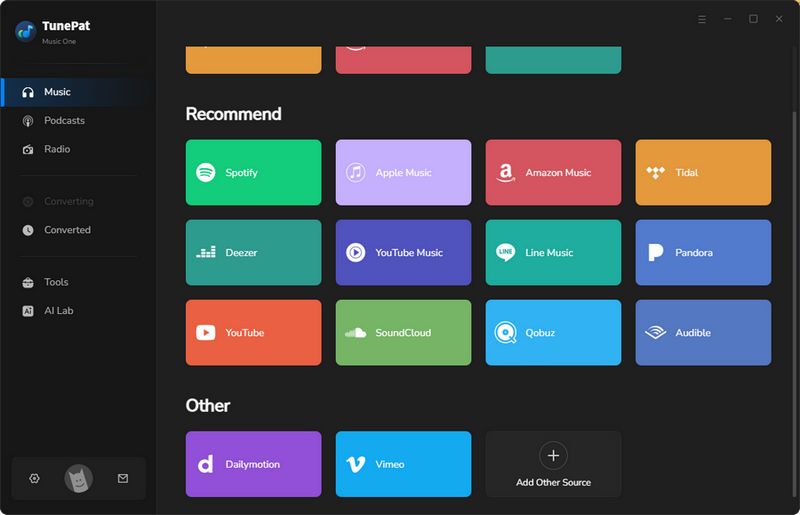
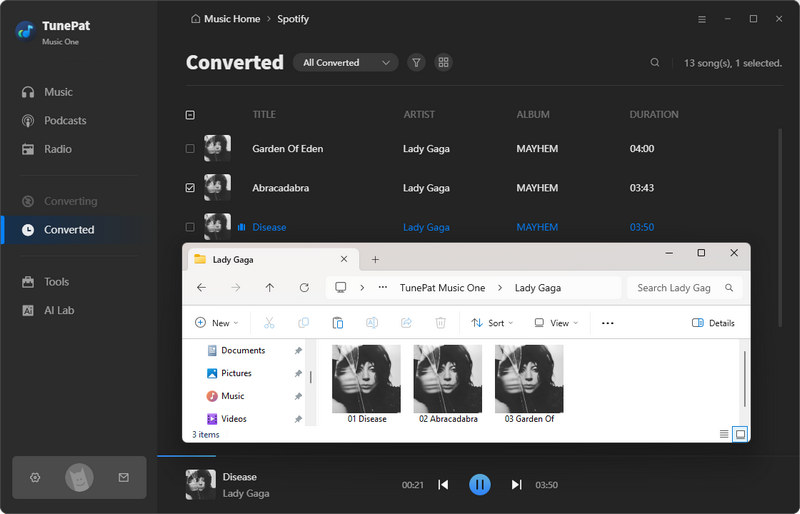
Step 1 Open TunePat Music One. From the list of supported platforms, we will select Spotify for this demonstration. Click on "Spotify" and log in to your account to grant access to your playlists.
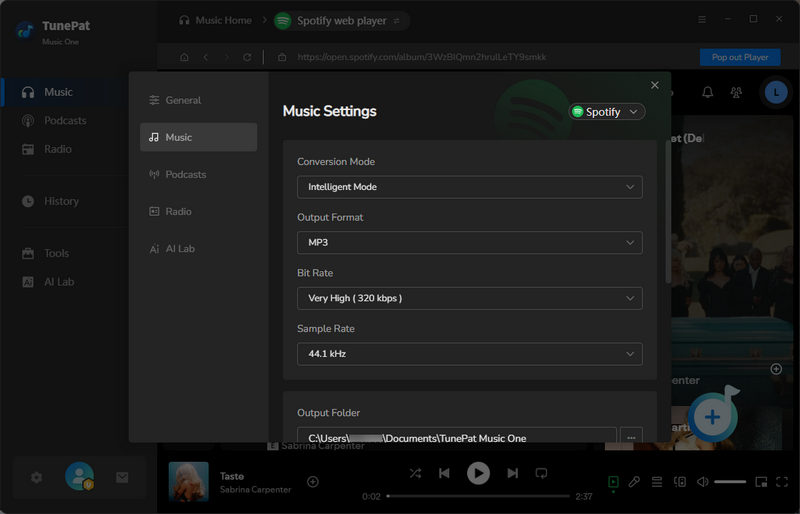
Step 2 Click the settings button and customize the output parameters as needed, such as output format, bit rate, and output folder.
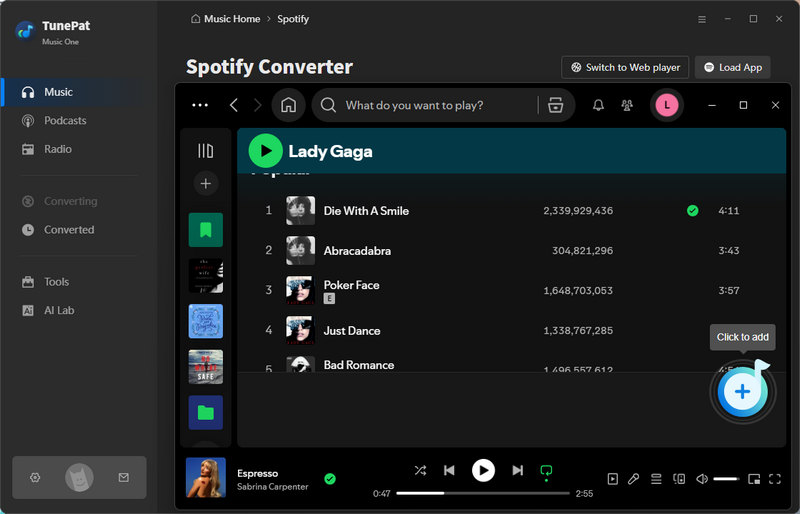
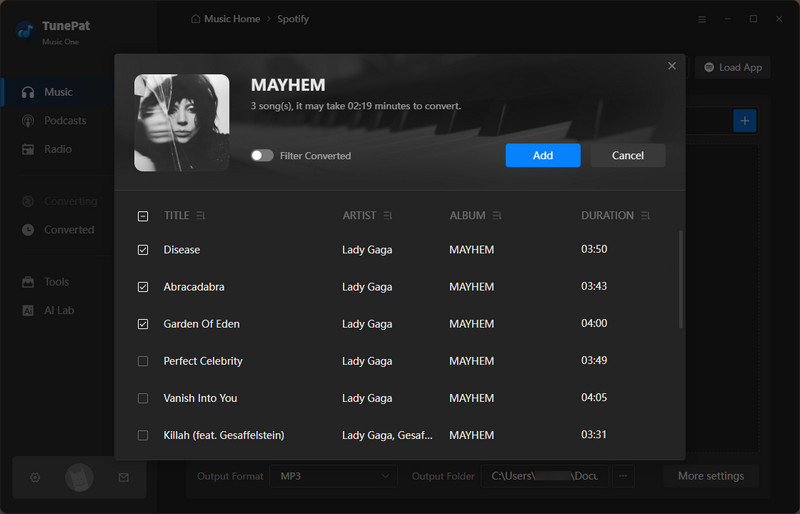
Step 3 Navigate to the desired playlist within the Spotify app or web player. Click the "+" button, and TunePat will load your playlist. Select the specific songs you want to download and click "Add".
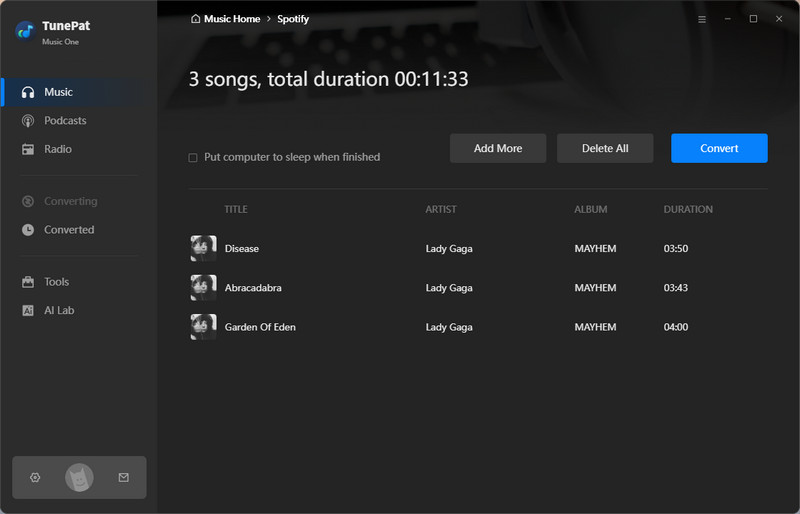
Step 4 Click the "Convert" button to begin processing. The conversion time will vary depending on the number of tracks. Wait a while, and TunePat will complete the conversion. The folder will automatically pop up after completion.
FAQs About Spotify to YouTube Playlist Transfer
Q1: How are Spotify playlists transferred to YouTube?
A: You cannot directly transfer Spotify playlists to YouTube Music. You need to use a third-party tool like PlaylistGo, which loads your Spotify playlists, matches each song with the best available versions on YouTube, and recreates the playlists for you. The whole process is quick, accurate, and takes only a few clicks. You no longer need to manually add music to your playlists.
Q2: Will the original Spotify playlist order be kept?
A: In most cases, the answer is yes. Professional Spotify to YouTube playlist transfer tools, such as PlaylistGo, will preserve the original song order, ensuring that your carefully chosen playback order on Spotify remains consistent on YouTube Music.
Q3: Is my data safe when using PlaylistGo?
A: PlaylistGo is designed specifically for playlist transfer and does not store your music files or personal listening data. Your playlists are accessed and processed only for the purpose of transferring to other streaming services. No unnecessary data is collected or retained beyond what is required to complete the transfer.
Conclusion:
Music should move with you, not be locked into a single streaming service. Whether you’re switching services, trying out YouTube Music for the first time, or simply want the flexibility to enjoy your playlists across services, a reliable Spotify to YouTube Music playlist transfer tool can save you hours of manual work. Instead of rebuilding playlists song by song, you can transfer your entire music library efficiently, keeping everything organized and in the same order you carefully curated.
With tools like PlaylistGo, transferring your playlists from Spotify to YouTube becomes fast, accurate, and hassle-free. It automatically matches your songs on YouTube Music with over 99% accuracy, so you don’t have to worry about missing tracks or losing your favorite arrangements. You can also save your playlists locally with TunePat Spotify Converter, giving you peace of mind in case of account issues or service changes. No matter how your listening habits change, your playlists don’t have to start over.

Olivia Anderson
Senior Writer